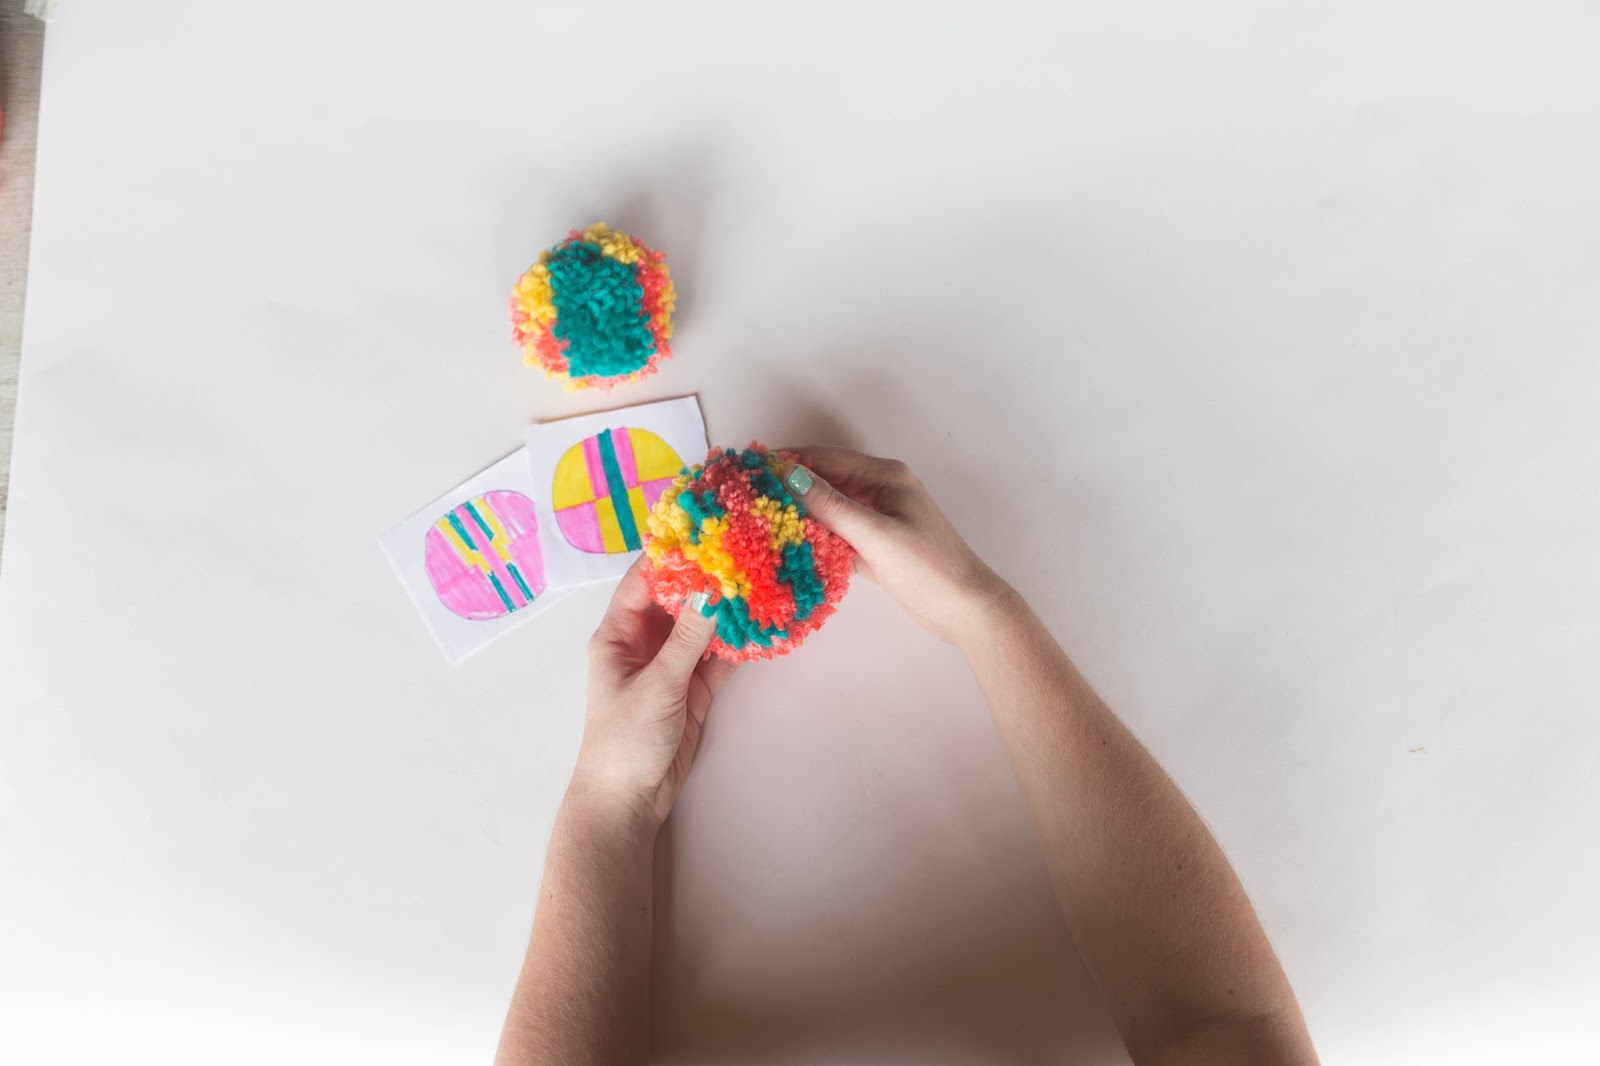
Making striped and shaped pompoms is fun and all, but what about making your own unique design? Is there a way to turn what you see in your head into an actual pompom? Yes there is!
To wrap up our Pompom-Along, we’re going to show you how to turn your pompom concept into reality with these five easy steps!
Check out The Queen of Purls for a detailed tutorial on how to make your own pompom design using Stitch Fiddle! Follow them on instagram @stitchfiddle and @queenofpurls.
Step 1. Draw your concept
Draw a circle, which represents your pompom. Within the circle, draw a design. (It’s helpful if you have a piece of graph paper to chart your design within the circle.) The design itself doesn’t have to be symmetrical. This will be your “pattern” for completing your pompom.
Step 2. Choose your yarn
Grab your favorite yarn to complete your pompom design.
Step 3. Wrap your pompom maker
Take your pattern, fold it in half and place the fold at the bottom. Open one side of the pompom maker and following your pattern, begin layering the colors of yarn from the bottom of your pattern to the top. When you’ve completed one side, flip the pattern over (fold should remain at the bottom) and again, following your pattern, begin layering the colors of yarn from the bottom of your pattern to the top.
Step 4. String and tie
When you have finished layering the yarn, as with any pompom, wrap a piece of yarn around the pompom maker and double knot on both sides to ensure your pompom doesn’t fall apart. Take the pompom out of the pompom maker and voilà, you’ve created your own uniquely designed pompom!